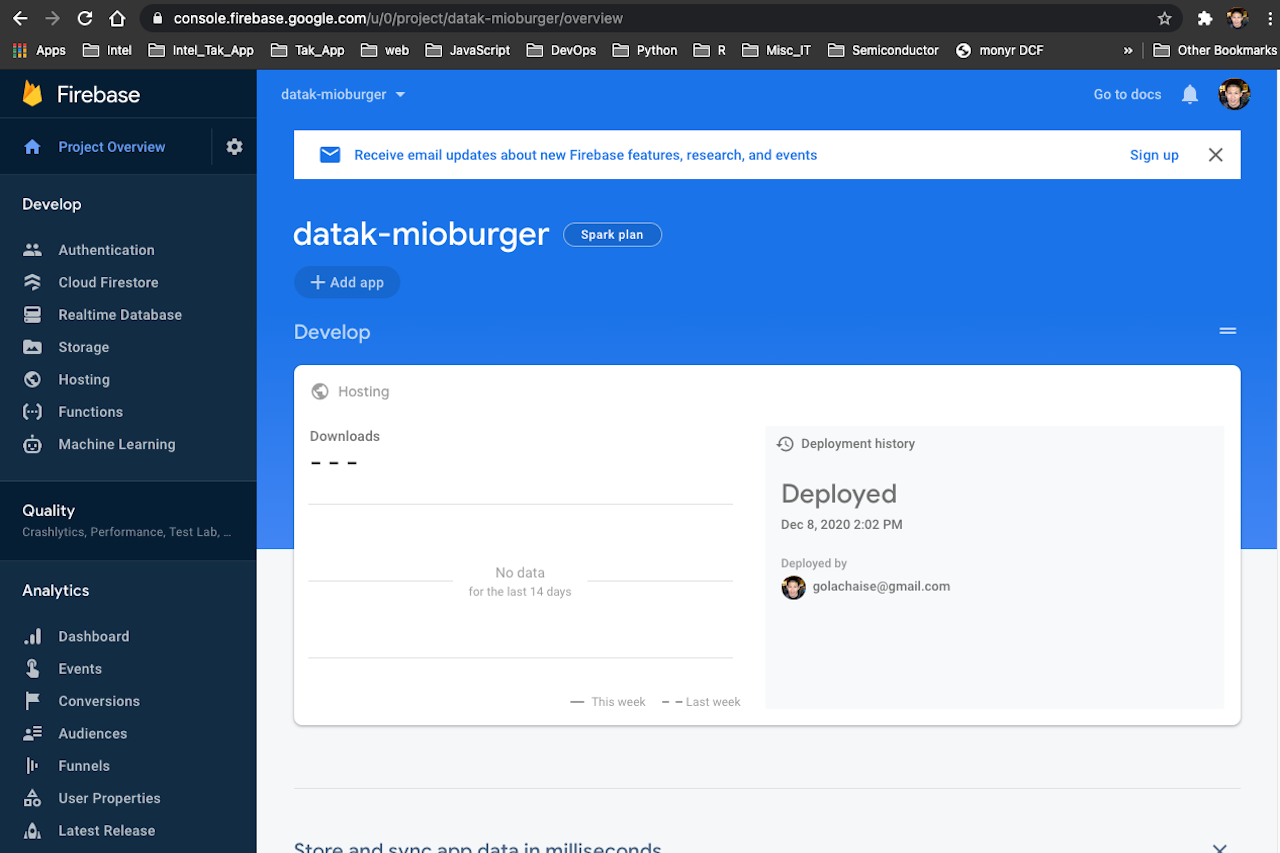
<p>Now that you have a react app locally on your laptop and network, next step is to deploy the app to the web. React app is static web application which is not necessarily to have backend even you have database to store a certain data. </p><p>There are backend-less development application at cloud, and firebase is one of a popular application which offers database with just one line of code to connect to the database specifying URL for the database.</p><p>Static web application can be deployed at couple of cloud platform, such as <a href="https://pages.github.com/" target="_blank">github pages</a>, <a href="https://docs.aws.amazon.com/AmazonS3/latest/dev/WebsiteHosting.html" target="_blank">amazon simple storage service</a>, and <a href="https://console.firebase.google.com/" target="_blank">firebase</a> from google.com thought it is limited by single pager application.</p><p>We will use firebase to show a demonstration as we are using firebase database and it'd be easy to deploy from database account</p><p><br></p><h3>STEP1 : Create folder for a build</h3><p>Stop your local web server by ctrl+c, and at the application directory,</p><pre>npm run build</pre><p>then this script creates "build" folder under application directory for a production, which will be deployed at production server eventually. if you would like to map the firebase server to your full URL name, you would need to pass the name at <BrowseRouter> in "index.js", but we assume we won't do this at this time simply using firebase route and ignore this</p><p><br></p><h3>STEP2 : Install firebase CLI</h3><p>To host our site with firebase hosting, we need to firebase CLI at our terminal. Firebase CLI is installed by;</p><pre>sudo npm install -g firebase-tools</pre><p>We could skip this if we've already installed before as this firebase-tools is global and not for a specific environment.</p><p><br></p><h3>STEP3 : Firebase preperation</h3><p>Going to specific application project in firebase, go to "Hosting" at left pane, then push "Get Started" button at main body</p><p><img src="/media/django-summernote/2020-12-08/d1d9dae7-4e7e-469e-9250-909d253744d5.png" style="width: 100%;"></p><p>If you finish installing firebase CLI, click "Next". We will leave checkbox as a blank for now</p><p><img src="/media/django-summernote/2020-12-08/c457b3d3-04a9-43bb-839f-df839ea33adc.png" style="width: 100%;"></p><p>At terminal, type followings. Make sure that we are at application repository</p><pre>firebase login firebase init</pre><p>then push "Next"</p><p><img src="/media/django-summernote/2020-12-08/d53b5f5c-771d-4525-bf9a-359689dfb4c2.png" style="width: 100%;"></p><p><br></p><p>In CLI, select 'Hosting' by pushing 'space' key, then 'enter'.</p><pre>#shellscript ? Which Firebase CLI features do you want to set up for this folder? Press Space to sel ect features, then Enter to confirm your choices. ◯ Database: Configure Firebase Realtime Database and deploy rules ◯ Firestore: Deploy rules and create indexes for Firestore ◯ Functions: Configure and deploy Cloud Functions ❯◉ Hosting: Configure and deploy Firebase Hosting sites ◯ Storage: Deploy Cloud Storage security rules ◯ Emulators: Set up local emulators for Firebase features ◯ Remote Config: Get, deploy, and rollback configurations for Remote Config </pre><p><br></p><h4>In case you would like to re-use repository which has already been connected to firebase</h4><p>Delete all firebase file and folders before 'firebase init'.</p><p><br></p><h3>STEP4 : Deploy app</h3><p>At your terminal, type following. Make sure that we are at application directory (where you will see "build" folder by "ls" at CLI) </p><pre>firebase deploy</pre><p><img src="/media/django-summernote/2020-12-08/05c10902-e774-4428-a89d-a991f9d1be56.png" style="width: 100%;"><br></p><p>We will get asked couple of questions at CLI (4 questions below)</p><pre>=== Hosting Setup Your public directory is the folder (relative to your project directory) that will contain Hosting assets to be uploaded with firebase deploy. If you have a build process for your assets, use your build's output directory. ? What do you want to use as your public directory? build ? Configure as a single-page app (rewrite all urls to /index.html)? Yes ? Set up automatic builds and deploys with GitHub? Yes ? File build/index.html already exists. Overwrite? No i Skipping write of build/index.html<br></pre><p>We will get asked github connection, but we will ignore for now.</p><p><br></p><p>We will get notified build completion in CLI like</p><pre>burger (🌵 :master) :$ firebase deploy === Deploying to 'datak-mioburger'... i deploying hosting i hosting[datak-mioburger]: beginning deploy... i hosting[datak-mioburger]: found 16 files in build ✔ hosting[datak-mioburger]: file upload complete i hosting[datak-mioburger]: finalizing version... ✔ hosting[datak-mioburger]: version finalized i hosting[datak-mioburger]: releasing new version... ✔ hosting[datak-mioburger]: release complete ✔ Deploy complete! Project Console: https://console.firebase.google.com/project/datak-mioburger/overview Hosting URL: https://datak-mioburger.web.app<br></pre><p>At firebase site, by clicking "Continue to console" we will see hosting server status</p><p><br></p><h3>STEP5 : Update application</h3><p>Updating application is quite easy by using firebase. Make sure your app runs locally by;</p><pre>cd <application directory> npm start</pre><p>then stop the web server by ctrl + c, and rebuild deployment package by;</p><pre>npm run build</pre><p>Login firebase and deploy at CLI</p><pre>firebase login firebase deploy</pre><p><br></p>
<< Back to Blog Posts
Back to Home